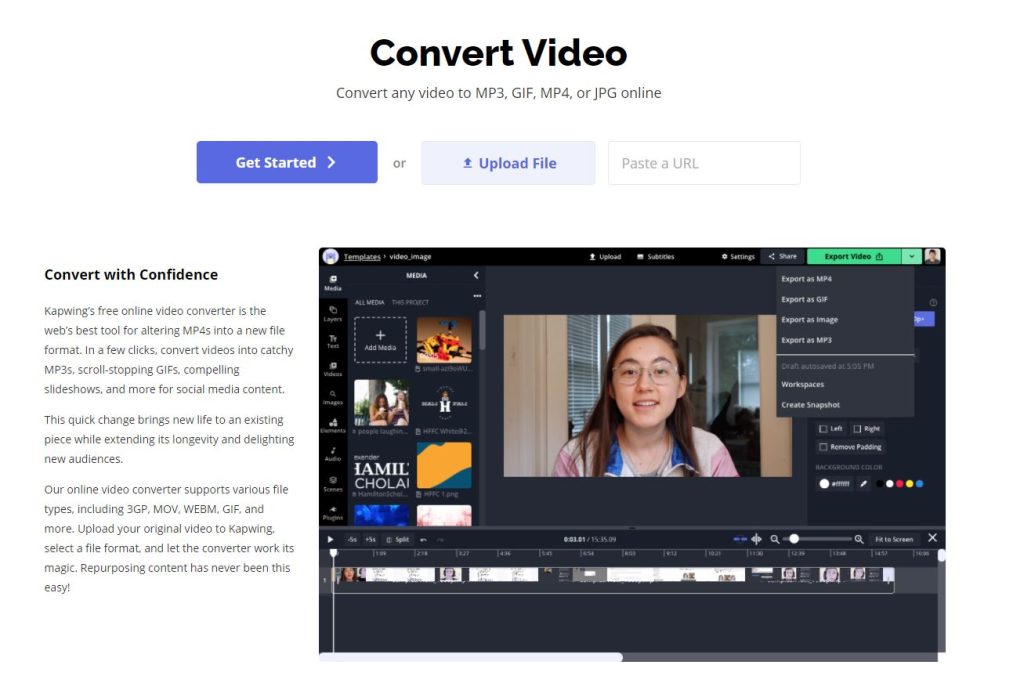
“I need to learn step by step how to post a video as a picture to Facebook,” one of our users asked. so if you have the same problem about how to post a video as a picture to Facebook, read on.
In many cases, you want to export a video as a series of images and publish it on Facebook or any other platform. In this article, we will teach you to step by step how to convert a video into images.
Before we begin, it should be noted that video is actually a series of images that run at a certain speed. If you can take a screenshot of the video at any time, you can have a series of serial images that are actually a different view of the same movie. To do this, you can use screenshots through Windows apps or buttons embedded on your phone. But if the video is going to be long and you want to repeat it several times, we suggest you follow the steps below.
Convert video to photos in 2 steps
Note that the application or service that we introduce in this article is just an example. You can use other tools with similar functionality. In fact, you need a video converter tool to extract images from a video. Some sites offer this service for free and some phone apps can help you in this regard. For this step-by-step tutorial, we use a site called kapwing that is free and easy to work with.

Go to https://www.kapwing.com/convert-video and have your video ready on your computer or phone. The formats accepted on this site are .mov, .MPEG and .mp4 videos. If the extension of your video file was something other than these, you can use other tools that support those extensions, or change the extension using the format conversion tools.
Step 1: Upload the video
The first step you need to take is to upload the video to the site. In addition to being local, this video can also be downloaded from video streaming sites such as YouTube. So, if you want to upload a video from your YouTube channel in kapwing, just enter the link in this section.
Step 2: Select screenshots
After your video has been successfully uploaded, options will be displayed on the left side of the screen. Select JPEG to convert the video to the image. After selecting this option, a slider will automatically appear that will allow you to select the desired frame of the video. Your image is easily selected from the video and by clicking the create button, the export process begins. Take the first image you output, hit the back button, and select another screenshot again.


